The journey in metalsmithing is daunting … and expensive, but it really does not have to be.
I am a self-taught jeweller and artist, specialising in mixed metals and re-purposing found and unusual objects into wearable art pieces.

When I started making jewellery and large costume pieces from metal, I started small, you want to know what I had? The only tools at my disposal were a pair of old tin shears from my father’s country work shed and a large incredibly old file that he gave me (the file I still use now, with its paint stains and big dents and rust spots) along with a roll of copper shim, and some 0.5mm copper sheet that I was given by my father also.
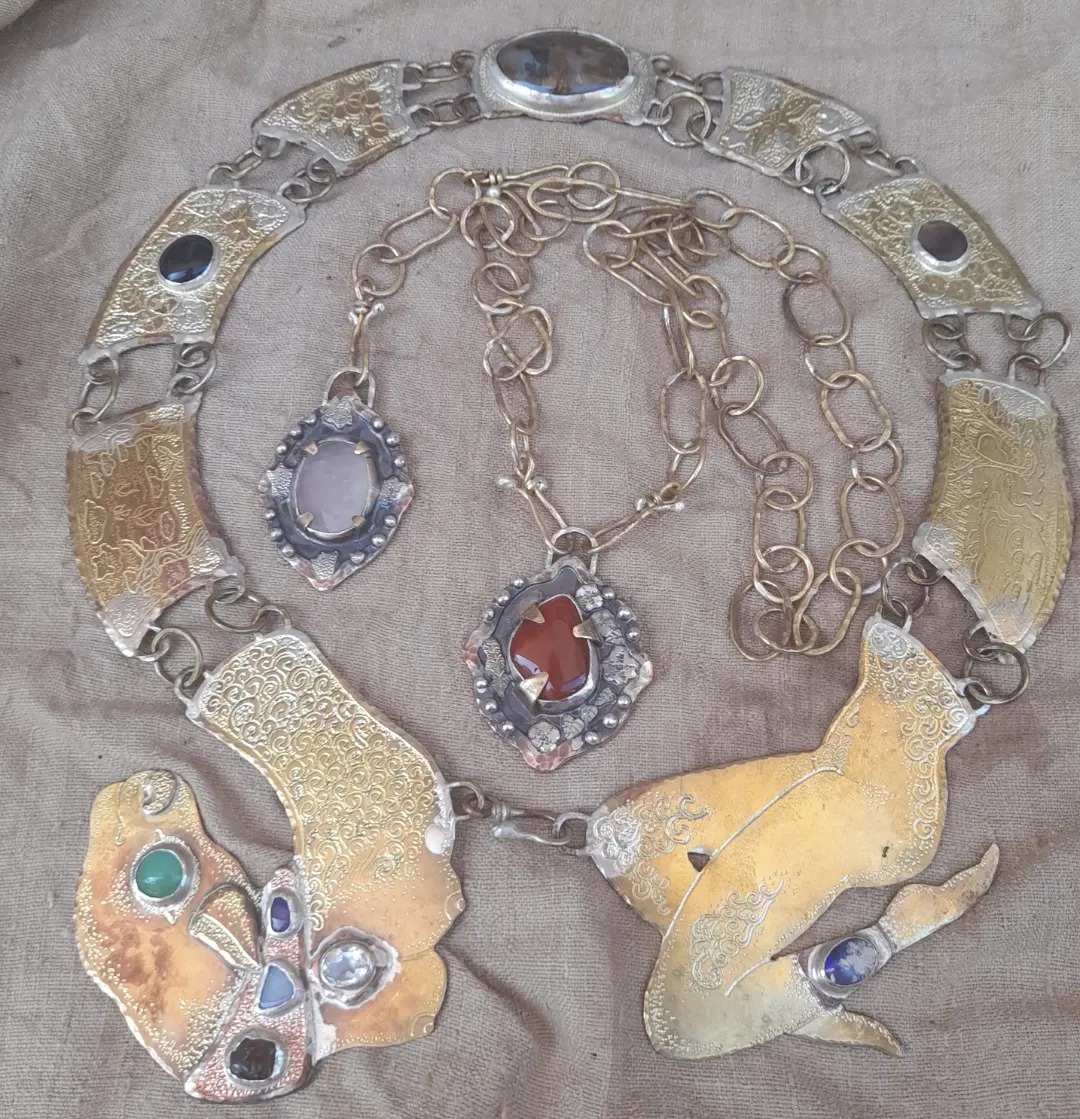
At that time, I was a full-time performer and dancer, I made all my own costuming, including a large copper headdress inspired by the incredible intricate ones worn in the Balinese legong dance, for a collaboration I had with my ex-husband who is a Balinese musician and artist. With just those simple tools, some velvet from the thrift store, old gemstone beads, wire, and some wool, this is what I created.

I will be honest, when I first started I found it so incredibly daunting, and if you are reading this article, than I am sure you have already researched all the items needed to even get started, written a list, and then been overwhelmed by the sheer cost of tools and materials, especially if you want to work with silver, or dare I say gold!

It took me many years to make the leap into working with silver and gold, as a young mother with small children, I just could not justify the cost, let alone find the money to fund what I felt was a very indulgent artform. So I worked with copper and brass, using fold forming and embossing techniques, with a large array of old nails and a big tradesman hammer, you guessed it, from my father’s work shed. I had started using these techniques to create jewellery in my teens and just worked on perfecting these skills over the years, I let the idea that getting into “real” jewellery making was just too prohibitive, and that mindset really held me back.
I do not have any regrets about my pathway into metalsmithing, I am very lucky that I had my father there, so I could ask him a million questions about annealing, tools and where to buy cheap recycled metal from junk yards, if you would like a window into my father’s antics then check out this post Welcome to tales around the jewel fire.

Starting off with the very basics will push you to problem solve and become better than you would be if you had started off with the best tools and easiest metals. When I moved on from fold forming and embossing basic shapes, I started soldering with brass, copper, and brass solder, now any metalsmith worth their salt will tell you that they are difficult metals to work with. They get dirty very quickly, so there is no room for hesitation when soldering and you need to go in with full on heat, don’t let them oxidize too quickly, and then if you do everything right, and they still become dirty, you need to pickle them, clean them and start all over again! (I will be covering pickle further down). I have seen people who started their metalsmithing journey with silver and then try to go on to mixed metal, and they really struggle, some will give up all-together. So, if you start with these metals first, the rest will be a breeze (Please read on for safety when heating brass in the safety section below).
Now to the tools, torches, saw and the rest. This part can be daunting, the tools available for metalsmithing are vast, and when you first start it can be really hard to know what to buy and what you will need, it also gets expensive very fast. Below I will list the basics to get you started and this really will be enough while you are learning.
You will need.
-A work bench.
I still use an old desk that I picked up second hand, make sure that it is wood and solid. It also pays to have a good chair, at a comfortable height, you do not want to be hunched over for hours on end. It is also handy to have one with drawers, a few vases or jars on top are also helpful to place all the bits and pieces you will start accumulating, I will not lecture on a clean workspace, mine is always chaos but I know where even the tiniest 2mm gemstone is! Do what works for you.
-Bench pin.
This is used to support your metal while sawing and can be bought in hardware stores or jewellery supply stores. They range in quality, but even the cheapest one from beadsmith will do when starting out.
-Saw frame and saw blades.
The number of the blade needed will depend on what metal you are sawing, you can buy mixed student packs, but I like to have 0,1,2,3 on hand. The higher the number the coarser the blade (unless it has a /0 at the end, as these are the finest) and further apart the teeth are spaced for thicker metal, for example, if you are sawing 0.3mm silver sheet, you want to use a finer blade such as 6/0 or 8/0, for thicker metal such as 1mm you would use blades 1 up to 4). You can find informative charts for this online. You will also see blade lube for sale, this is to stop the blade sticking and breaking while you saw, I personally use spit, yep, it is free and works for me, alternatively you can use bee wax.

-Metal shears.
They are inexpensive and can be helpful for cutting up larger pieces of metal and simple shapes (I would avoid for metal thicker than 1mm, it will hurt your hands and blunt the blades fast), but just remember that they will warp your metal when you cut with them, as opposed to sawing which will keep your metal nice and flat which is vital when soldering bezels to backplates for example.
-set of pliers.
It pays to have a good set of pliers, I mostly use the round nose, flat nose and the side cutters, for wire work, ear hooks, cutting solder wire and many other things they are most likely not intended for! If you want to avoid marking your metal, there are nylon coated ones available, I rarely use them as worn textured metals are part of my aesthetic.
-File set.
Now good files can be very expensive, I have been smithing for a long time now and I have only just started buying good files, I would recommend getting a set of inexpensive needle files (for small pieces and hard to reach places), again the beadsmith ones are fine. And then one good larger flat file for thicker, bigger pieces. Here is a good tip, you want to file grooves for things like knuckle hinges in the future, get yourself a chain saw sharper file from the hardware store.
-Sand paper.
In various grits, this is very handy for smoothing surfaces and edges after filing and also for adding “tooth” when soldering, it is vital to clean your brass and copper surfaces, as even the oil from your hands will dirty the metal.

-Metal and rubber bench blocks.
These are little square blocks for hammering your metal on, you want to use the metal one when you are texturing your metal with things like hammers.

-Hammers.
I like to have a jeweller’s ball peen hammer, a chasing hammer and a big heavy tradesman’s hammer on hand, a raw hide mallet is also useful when you don’t want to mark your metal.
-Centre punch.
This is for punching holes with a hammer through your sheet metal, or making a hole first before you drill, if you do just use the centre punch, make sure to hammer it through on both sides, and also to file down the sharp metal around the hole, as unlike drilling it will not remove it. When I first started, I just used a big nail.
-Bezel setting tools.
You probably will not be going straight into setting stones when you first start, but when you do, a few different bezel pushers will be needed, me? I use home-made ones from pieces of wood in varying shapes and I like to hammer set my pieces with those, or with using the round end of a ball peen hammer, for fragile and faceted stones you will be better off using the bezel pushers!

-Metals.
Have a think about what you want to start with, I would recommend copper as it is soft and cheap, start off fold forming and punching holes to thread wire through for ear wires and the like, brass is my favourite even above silver, but it is tough and becomes work hardened (which means it can crack) very fast, so you need to anneal it depending on what you are making. Once you have mastered these, move on to precious metals and then mixed metals.
-Solder (or as Americans call it “sodder”)
I started out using brass solder, and it is quite a good colour match, but a pain to use and must be kept clean. I would suggest just forking out on the silver solder (it is not that expensive), the silver solder against the brass and copper is another big part of my aesthetic, but if you want your solder joins to be less obvious you will need to use the brass solder. It will come in various types from extra easy, easy, medium to hard, and if you are making complex pieces that will need to be soldered in various stages, like lockets for example, you will need to start with hard solder and work your way down to easy, so that you don’t melt your earlier joins. I honestly use a lot of easy solder and add cooling paste to the pieces I don’t want to melt again; I mostly work with mixed metals which is a whole new beast, and your silver can melt before your hard solder melts, especially silver bezels on brass. We all find little tricks along the way, so do not feel like you must follow a purist approach.

-Torch
This is one of the big-ticket items! And I will be honest here … even after all this time, I still use a handheld butane Big Buddy torch by Blazer (even though I have a full set up sitting in a box), why you ask? Because I have a toddler, I have limited space and I like to solder outside, because I do not want to have a set up my child can get to, and I do not want to have fumes in my home. I will stress this, please use a good quality butane gas, it doesn’t cost that much more, because the cheaper ones will destroy your torch. Now, the argument against using a handheld torch will be the flame control, the torch will need re-filling before you finish soldering, and there will not be enough heat for bigger pieces.
The ways I have dealt with these problems are, I have two torches so another is ready to go if the first runs out, the same goes for heating large pieces, I have two torches and heat at either end (Don’t do this when you are learning, never ever heat up another torch by accident and always keep your butane cans away from open flames, safety is number one). The Big Buddy does have a flame control toggle on the side, but for fine pieces it is not a huge help, you will have to start doing things by feel, know when to back your torch off before you destroy your piece, is this hard to master? At first of course, but you will get it like second nature, just by looking at your piece, you will know when it is too hot, you will know when your solder is about to flow. Again, for heating large pieces or not getting enough heat, it pays to be mindful of your heat sinks (like soldering tweezers sucking up the heat) have a good solder block (asbestos free) and a dish of charcoal or charcoal block, this will really ramp up your heat (make sure that your charcoal is not left smouldering when you are done!)
-Tripod and soldering block.
These items will be available from jewellery supply stores or online. You will need these as a surface to solder your pieces on.

-Tweezers
I would buy a few different kinds of tweezers, you will need copper tweezers to get your metal out of the pickle, you can only use copper or plastic tweezers for pickle, of you accidently use steel ones you will need to dispose of your pickle and make more (it will do things like coat your silver in a copper surface that is a pain to remove). You will also need a fine pair of needle nose tweezers to pick up solder and small pieces, and a few pairs of steel tweezers for picking up your hot metal and holding it in place, I also like to have a pair of locking tweezers for holding pieces together.
-Flux.
Now with flux, please be careful and take the time to read safety data sheets, especially if you are self-taught, please do not skip over educating yourself on safety. I like to use Firescoff Ceramic Flux, as it is the least toxic and comes in a handy spray bottle, it is also the most environmentally sound. I will say though, for holding things like hinges in place, I will use tenacity flux and paint it on with a paint brush, it just holds pieces together so much better so they don’t fall apart while soldering. When working with flux, please have a bucket of soapy water handy and a towel just for the studio, and wash your hands after use, and wash them especially well under running water before eating or touching your mouth and face, I go as far as wiping down surfaces and showering after metalsmithing, because I don’t want my toddler exposed to anything harmful.
-Pickle.
This is another one where you really need to do your safety research, I only use safety pickle, which is white vinegar mixed with salt (I do not really even measure it, but at a guess, I use 4 cups vinegar to ½ cup of salt). It does work better when it is hot, here in Australia, I can just leave it on the concrete in my workspace and just that is enough to heat it up, but in colder climates and in winter, having a little camp cooker just for studio use is a good way to heat it up, just don’t boil it, it just needs to be like a hot bath. When it goes green, you need to swap it for a fresh batch, now, while the vinegar and salt is not a hazard, the copper that will deposited into it is, so please put it in sealed containers and add some bi-carb soda to neutralise it (make sure you only put a little bit in a large container as it will fizz over like crazy! Think coke and mentos). Then label these containers and take them to your local waste disposal centre.
-Container for the pickle
You can buy special warmers for pickle, but they are not cheap, I use an old pyrex coffee warmer from the thrift store for my pickle, because no metal at all touches the pickle inside, the pickle pot must be free of metal entirely for the same reason you can only use copper tongs.
-Bi-carb soda.
This is for neutralizing your pickle and also to dunk your pieces in after they come out of the pickle, you want to take your pieces out of the pickle pot with the copper tweezers and then put them into the pot containing bi-carb soda and water without your copper tweezers coming into contact with the bi-carb, or you are just going to lessen the effectiveness of your pickle (again I don’t measure, so maybe ½ cup bi-carb to 3 cups water) and I use a pyrex dish for my neutralizing bath, then I take the pieces out with a pair of metal tongs.

-Other handy bits and pieces.
Pen, pencils, paper, and stick glue for drawing designs and gluing them to your sheet metal before cutting, then just wash it off in warm water and sand down the surfaces to clean them before soldering.
Ruler, calipers, brass brush for cleaning your metal, polishing compound (I love sunshine cleaning metal polish as it is non-toxic), old towels, paper towels, paint brush for flux, cotton buds, a studio only vacuum for cleaning up metal shavings and other mess, rubbish bin and bags.
Now for the most important items.
Safety.
-Eyeglasses.
You must use eyeglasses when metalsmithing, things can fly up when soldering (imagine soldering a hollow piece by accident and it explodes) flux can get in your eyes, saw blades break and go catapulting into your face. Please always wear them!
-Respirator.
This is where the mention of safety while soldering brass earlier, comes in. Brass will give off toxic fumes when heated, so please wear an appropriate respirator while soldering it, this also goes for flux fumes and solder paste too, they are not overly expensive and essential, ask at your local hardware store and they will be able to help you, just make sure that it is fit for purpose, and you wear it properly. A particle mask can also be a good idea when sanding metal, also remember when you are sawing, and you go to blow away your metal shavings, do not accidentally inhale them!
-Gloves.
Get yourself some good, well-fitting gloves, coming from someone who has put a whole saw blade through one end of their finger and out the other when a blade snapped, trust me, wear gloves. Same goes for filing, your hands can get worn and sore fast. If you are also concerned about using flux, you can wear latex gloves for that, I find it cumbersome and wasteful so I prefer to wash my hands often and be very vigilant with contaminating spaces and not touching things in my kitchen during my metalsmithing sessions, I am really on the cautious side with this sort of thing, again, because of my toddler, the mothers reading this will understand, if you are an artist and a mother have a look at my post on The balance of art and motherhood.
-Fire extinguisher.
Given that you are working with fire, it pays to have one of these handy, or easy access to a tap or bucket of water at the very least.
As I mentioned before, it pays to read safety data sheets and take precautions, especially of you choose to work with more toxic materials.
Conclusion:
I have always worked outside on a small concrete surface on the floor, with very basic materials and I also work out of a humble fishing tackle box when it comes to soldering. I stick to things like safety pickle, and while it may not always be as convenient, it just means that I have had to really up my game and adapt to what I am working with, and I believe it has made me a better metalsmith, as I said earlier, you do not have to be a purist with your artform, of course there will be a few hard and fast rules, but I feel that even they can be bent a little. You have to start somewhere, so if you are sitting on the fence, just take that leap, and start small.
If anyone has any questions or a topic, they would like me to cover please either message me through the contact section, or comment on this post.
Do not forget to subscribe to see new posts!
Please note: I am not affiliated with any products mentioned, they are just the products I use and stand by.


